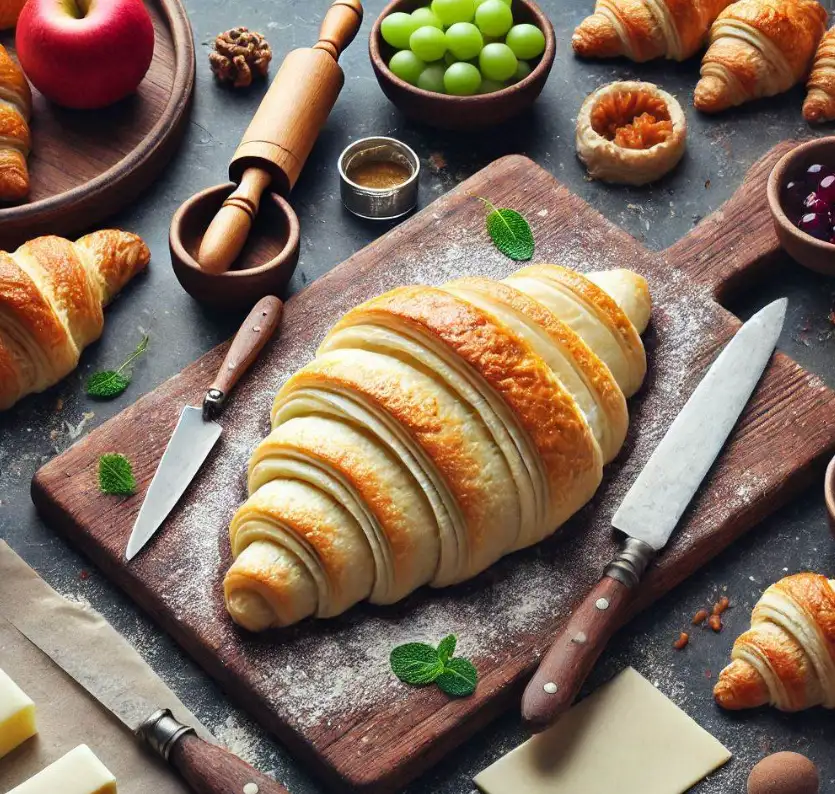
If you’ve ever marveled at the golden, flaky perfection of croissants and wondered how to achieve the same results at home, you’re in the right place. Imagine impressing your friends and family with homemade croissants that rival the best bakeries.
Crafting these delicacies begins with mastering puff pastry—a skill that combines precision, patience, and the right techniques.
In this guide, we’ll reveal how to cut and shape puff pastry for croissants like a pro. Whether you’re an experienced baker or a curious novice, these tips will inspire you to take on this rewarding challenge.
Understanding Puff Pastry for Croissants
Puff pastry, especially when yeasted for croissants, is a laminated dough that requires a series of meticulous steps to achieve its signature flaky layers.
This process involves rolling out the dough, locking in butter, and folding it multiple times. The result? Layers that puff up beautifully in the oven, creating the delicate structure croissants are known for.
Why Yeasted Puff Pastry?
Unlike traditional puff pastry used for treats like Napoleons, yeasted puff pastry incorporates a tender chewiness alongside the buttery flakiness.
This type of dough is essential for croissants, Danish pastries, and kouign-amann. The yeast provides rise and volume, while the lamination process ensures the light, airy texture we love.
Preparing Your Dough
Before you start cutting and shaping, ensure your dough is properly laminated and rested. Follow these steps:
- Chill the Dough: After completing the lamination, let the dough rest in the refrigerator for at least 60 minutes. This ensures the butter stays cold and the layers remain intact.
- Prepare Your Workspace: Lightly flour your work surface to prevent sticking, but avoid over-flouring as it can alter the dough’s texture.
How to Cut Puff Pastry for Croissants
Cutting puff pastry for croissants requires careful attention to dimensions and angles. Here’s how to do it:
1. Roll Out the Dough
- Thickness: Aim for a uniform thickness of about 1/8 inch. This ensures even baking and consistent texture.
- Dimensions: Extend the dough into a rectangle, approximately 18×9 inches. Adjust based on the number of croissants you plan to make.
2. Trim the Edges
- Use a sharp knife or pizza cutter to trim uneven edges. Trimming ensures the edges will puff up properly during baking.
3. Mark and Cut Triangles
- Width: Mark 4-inch intervals along the bottom edge of the dough.
- Center Points: Mark the center points between each interval along the top edge.
- Connect the Dots: Using a ruler, draw diagonal lines from the bottom corners to the center points on the top edge to create triangles. Each triangle will form one croissant.
Shaping the Croissants
Now that you have your triangles, it’s time to shape them into croissants.
1. Stretch and Elongate
- Gently hold the base of a triangle and stretch the dough slightly to elongate it. Be careful not to tear the dough, as this can ruin the lamination.
2. Roll Tightly
- With the base of the triangle facing you, start rolling towards the tip. Keep the roll tight but gentle to maintain the layers.
- Ensure the tip is tucked under the croissant to prevent it from unraveling during baking.
3. Straight or Curved Shapes
- For a classic straight croissant, leave the ends as they are. For a crescent shape, gently curve the ends inward before placing them on a baking tray.
Proofing and Baking
1. Proof the Croissants
- Place the shaped croissants on a baking tray lined with parchment paper, leaving enough space for them to double in size. Cover lightly with plastic wrap and proof at room temperature for 1-2 hours or in the refrigerator overnight.
2. Bake to Perfection
- Preheat your oven to 375°F (190°C).
- Brush the croissants with an egg wash for a glossy finish.
- Bake for 20-25 minutes, or until golden brown and fully puffed.
Pro Tips for Success
- Keep It Cool: Always work with chilled dough to maintain the butter layers.
- Avoid Overproofing: Overproofed croissants can lose their shape and flakiness.
- Experiment with Fillings: Once you’ve mastered the basics, try adding chocolate, almond paste, or ham and cheese to your croissants for a delicious twist.
Why You’ll Love Homemade Croissants
Making croissants at home is a rewarding process that allows you to customize flavors and enjoy fresh pastries right out of the oven. Plus, you’ll gain a deeper appreciation for the artistry behind these beloved treats.
Whether you’re preparing a batch for a special breakfast or just indulging in a baking project, mastering the techniques for cutting and shaping puff pastry will elevate your croissant game. Happy baking!

